Getting Started
Welcome to SAR Portal! This guide walks you through everything you need to go from signup to processing your first real DSAR request.
Your First 30 Minutes
| Step | Time | What You’ll Do |
|---|---|---|
| 1 | 2 min | Accept your invitation |
| 2 | 3 min | Set up your organization |
| 3 | 5 min | Configure your public portal |
| 4 | 2 min | Set up notifications |
| 5 | 5 min | Create a test case |
| 6 | 3 min | Go live |
Step 1: Accept Invitation
When you register on sarportal.com, you’ll receive an email invitation.
What to Expect
- Check your inbox for an email from SAR Portal
- Click the activation link in the email
- Verify your email with the one-time code sent to you
- Log in to the app
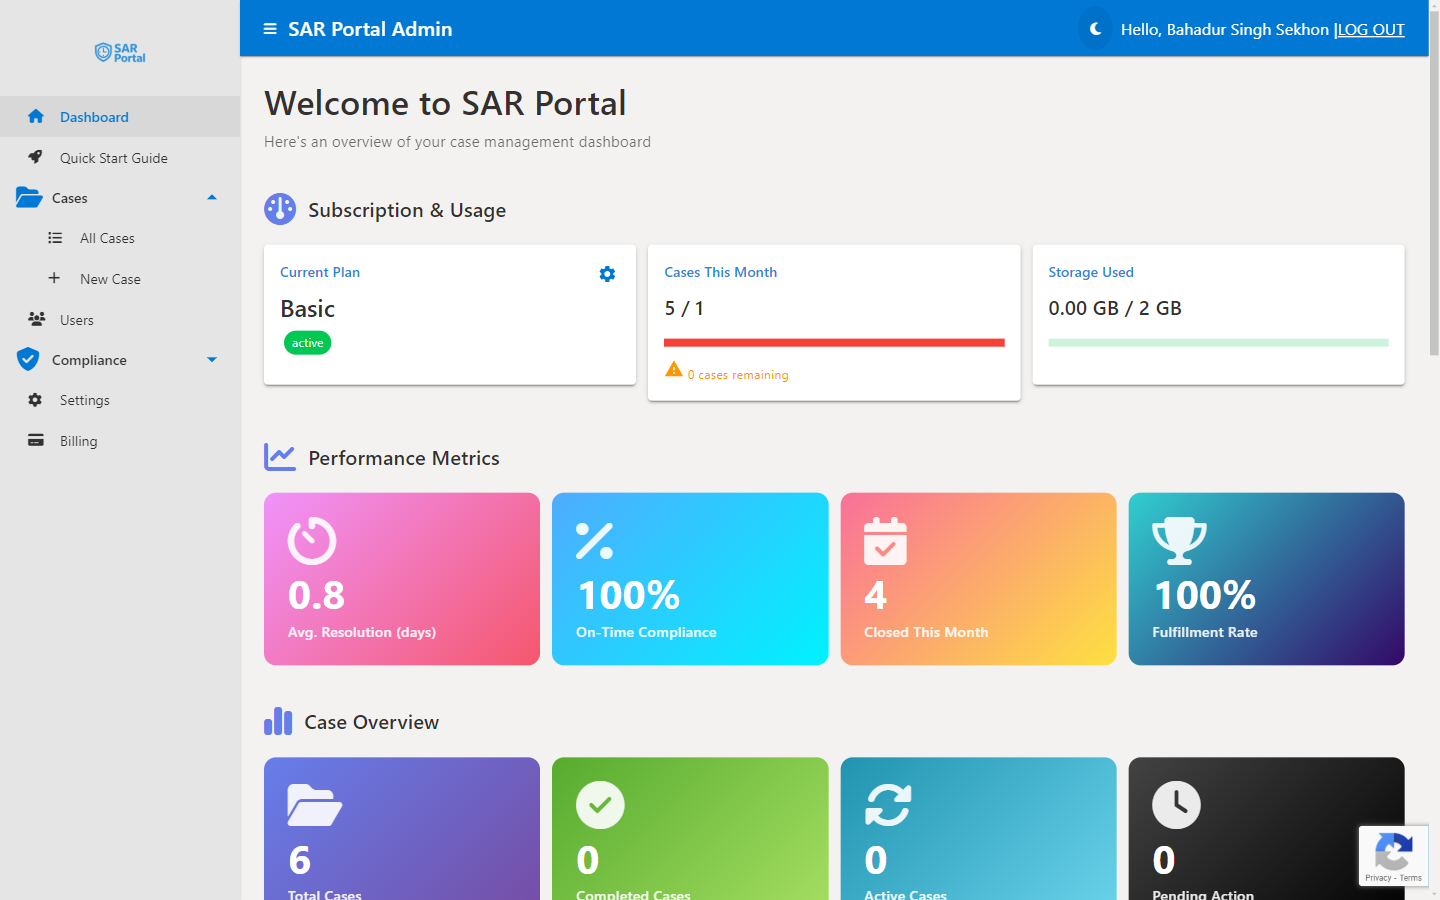
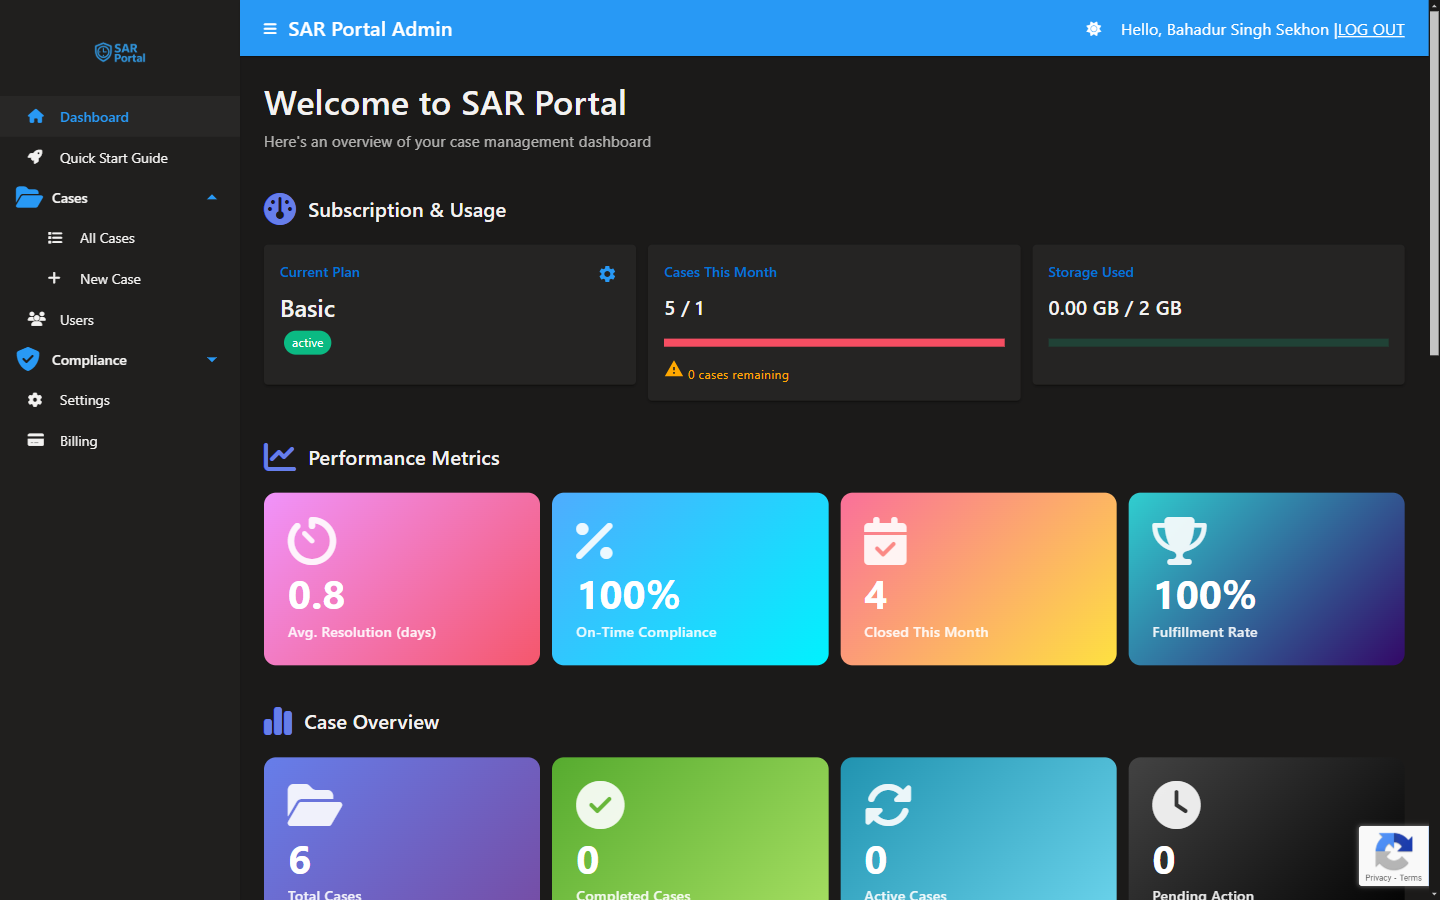
After Logging In
You’ll see your Dashboard - the command center for all your DSAR activities:
Step 2: Organization Setup
Before accepting requests, configure your organization details.
What to Configure
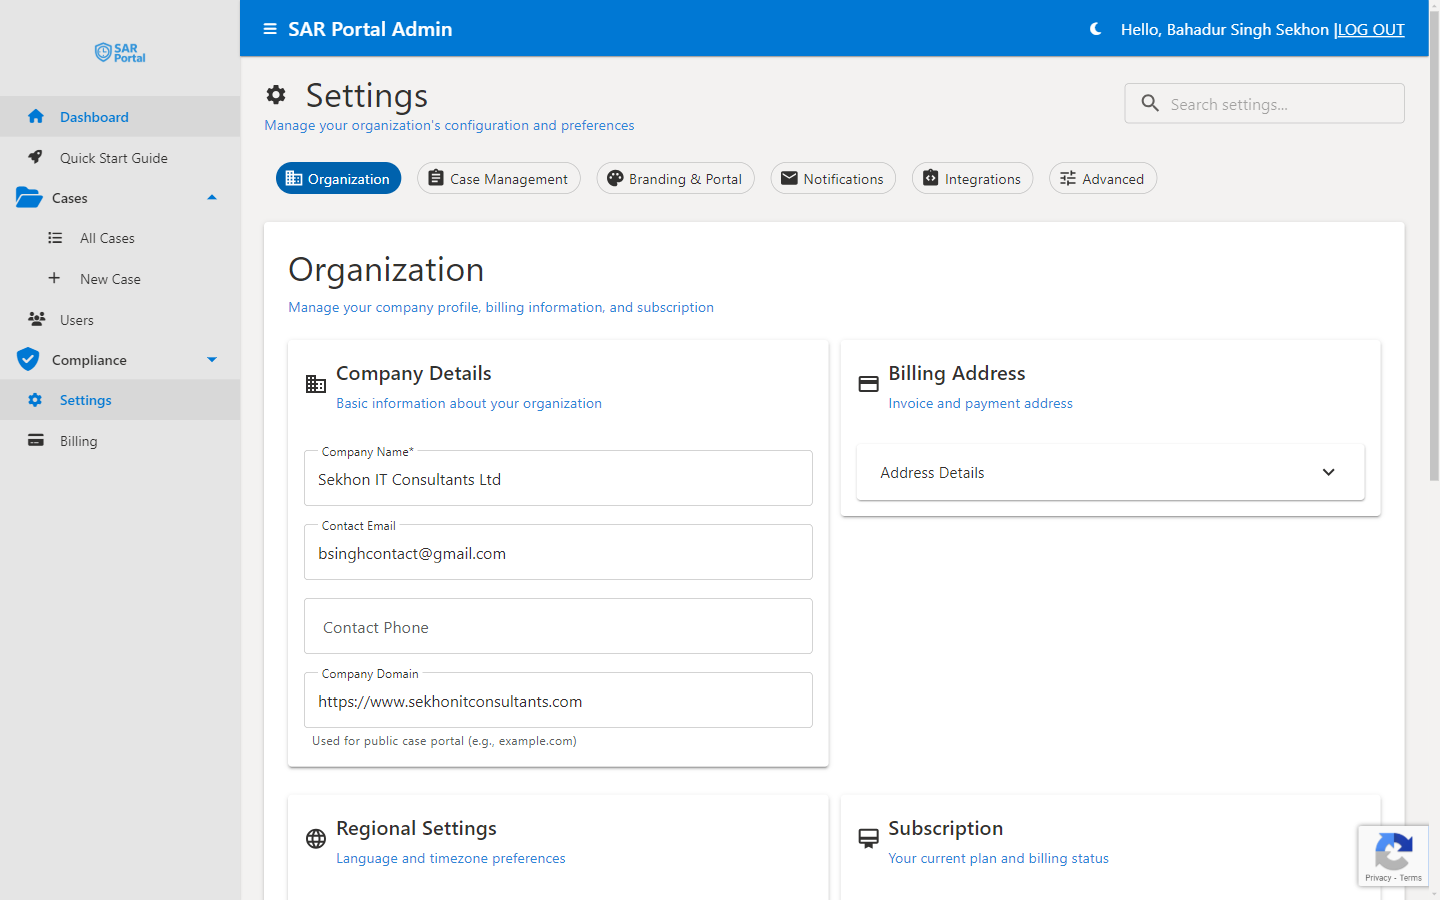
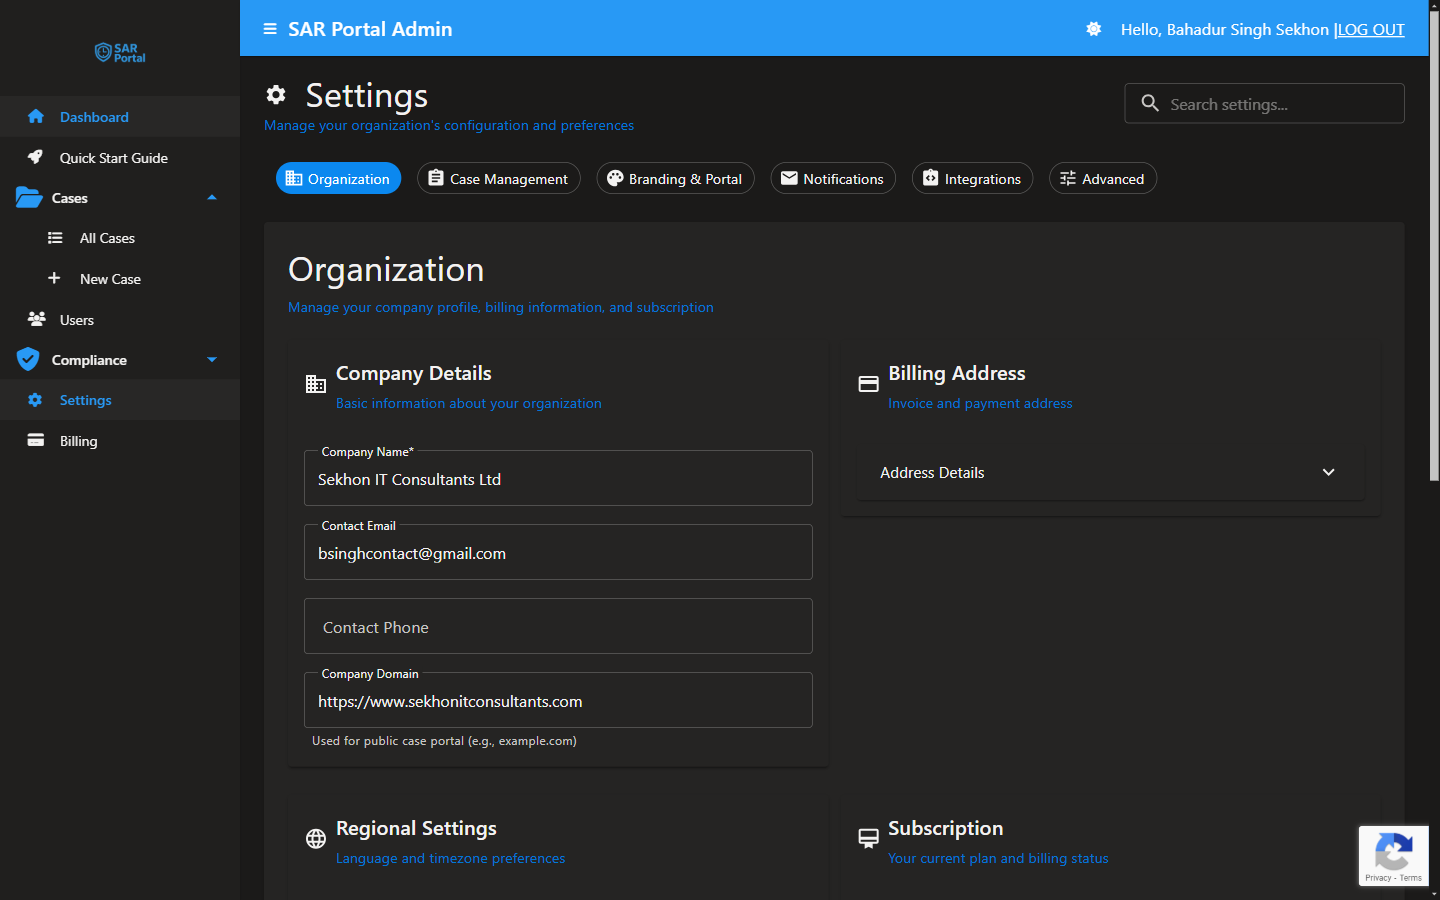
| Field | What to Enter | Why It Matters |
|---|---|---|
| Legal Name | Your registered company name | Appears on official communications |
| Address | Business address | Required for compliance documentation |
| Country | Your country | Determines VAT and legal requirements |
Step 3: Public Portal
Your public portal is where data subjects submit requests. This is the link you’ll add to your privacy policy.
Configure Your Portal
https://app.sarportal.com/public/submit/your-org-id
PNG or JPG, max 2MB
Add Portal Link to Your Website
Add this to your privacy policy or contact page:
<a href="https://app.sarportal.com/public/submit/YOUR-ORG-ID">
  Submit a Data Request
</a>
Example text for your privacy policy:
“To exercise your data protection rights (access, deletion, correction), please visit our Data Request Portal.”
Step 4: Email Branding (Optional)
Customize how automated emails look when sent to data subjects.
What You Can Configure
The Notifications section lets you brand your automated emails:
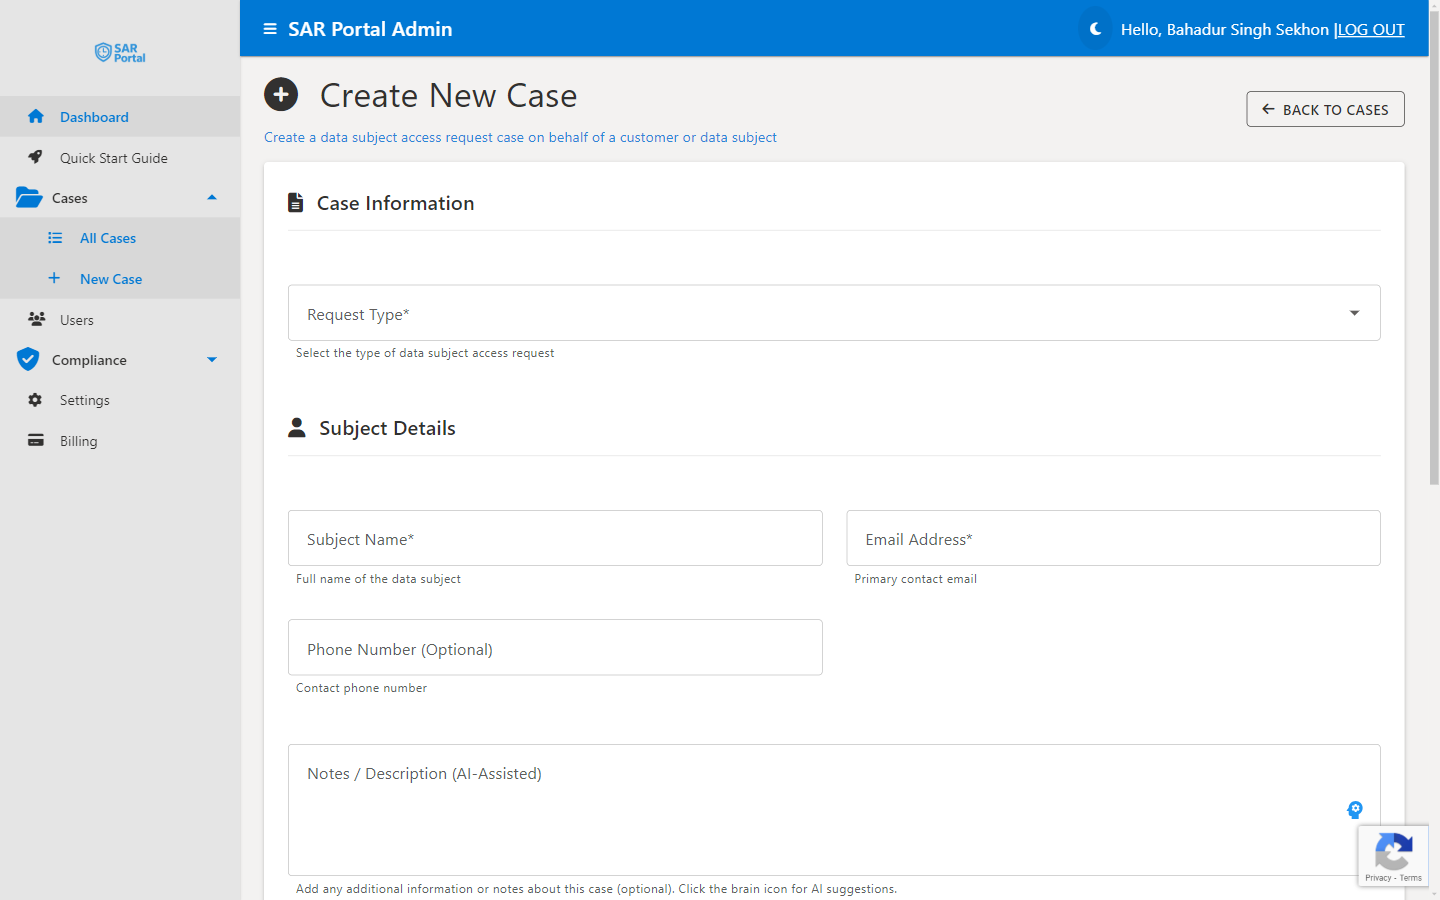
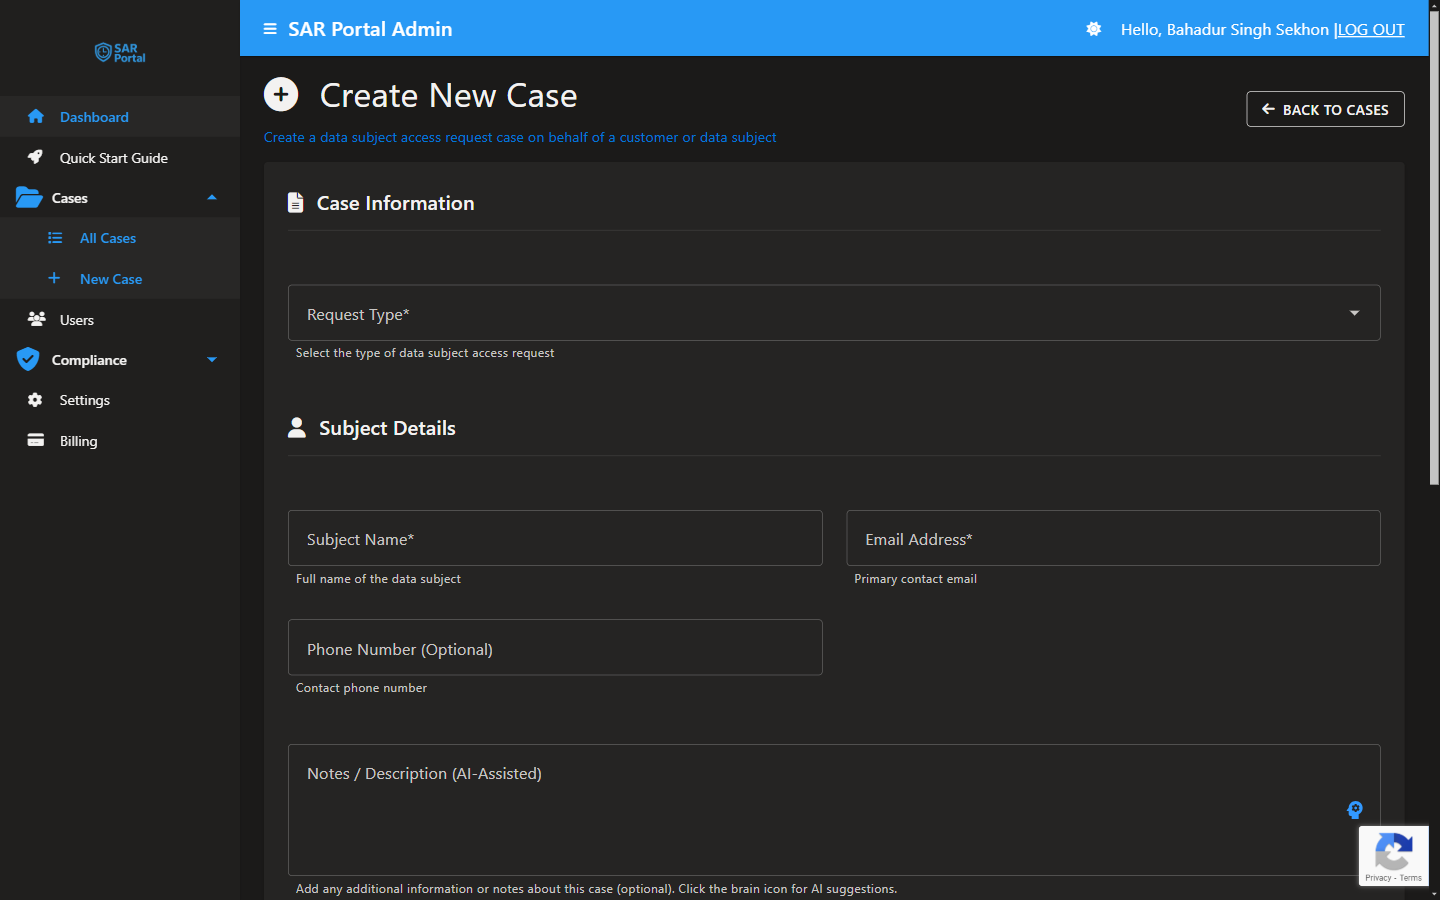
Step 5: Create Test Case
Practice with a test case before going live.
Fill in the Form
Test the Workflow
After creating your test case:
- Open the case - Click on it in the Cases list
- Upload a document - Try uploading a sample PDF
- Run AI Analysis - Click “Analyze for PII” (Starter/Pro plans)
- Change status - Move it through the workflow
- Close the case - Select “Completed - Fulfilled”
Case Statuses Explained
| Status | Meaning | Next Action |
|---|---|---|
| Open | New request, not started | Begin gathering data |
| In Progress | Work has begun | Continue processing |
| Verified | Identity confirmed | Safe to share personal data |
| Closed | Complete | No action needed |
Step 6: Go Live
You’re ready to accept real requests!
Pre-Launch Checklist
- Organization details are complete and accurate
- Public portal is branded with your logo/colors
- Portal URL tested in incognito/private browser
- Email notifications configured and working
- Portal link added to your privacy policy
- Test case completed successfully
Quick Links to Complete Setup
What Happens When Requests Arrive
From Your Public Portal
When someone submits through your portal:
- Case is automatically created
- You receive an email notification
- Subject’s email is already verified
- Case appears in your Cases list with status “Open”
Via Email, Letter, or Phone
For requests received outside the portal:
- Create a case manually in SAR Portal
- Enter the subject’s details
- Upload any documents received
- Process as normal
Next Steps
Invite Your Team
- Go to Users in the sidebar
- Click Invite User
- Enter their email and select a role
- They’ll receive an invitation email
Explore Features
Get Help
- Email: support@sarportal.com
- Documentation: Browse these docs
- In-App Guide: Click “Quick Start Guide” in the sidebar
Common Questions
Q: How do I know if my portal is working? A: Open your portal URL in a private browser and submit a test request using a different email.
Q: What if I get a request before I’m fully set up? A: Create a manual case immediately. The 30-day clock starts when you receive the request.
Q: Can I customize what request types my portal accepts? A: Yes, in Settings > Branding & Portal.
Q: How do I handle requests for people not in our systems? A: Create the case, document your search, close with “Completed - No Data Found.”
Q: What if I need more than 30 days? A: You can extend complex cases to 90 days. Document why the extension is needed.